Wednesday 4 June 2014

Recommended: MA Nails

Hi There! :)


Just a quick little blog update to give a shout out to MA Nails run by Mandy Abbott as she has done my nails a few times and she is always fantastic at what she does. If I could get her to do my nails all the time I totally would! Always fabulous so the word needs to be out.


So if you love your nails unique, stylized and gorgeous check out her website and give her a like on facebook and/or follow her on twitter or check out her website. The links are below with some examples of her work :)

Website: http://ma-nails.co.uk/

Facebook: https://www.facebook.com/NailsByMandyAbbott?fref=ts

Twitter: @NailsMandy


Thanks Guys! Byeee :) xxxx

Friday 16 May 2014

MUA Luxe London Velvet Lip Lacqeur review- Reckless


MUA Luxe London Lipstain Review!

Colour: Reckless :)


Hi There! :)

Apologies! It's been a while since I last updated for a variety of reasons such as university ect, however have now found time and so shall be updating more frequently in the future, fingers crossed! 

So today I thought I'd slip in a little entry about my thoughts on the MUA Luxe London range which is described as a lip "lacquer". but it works the same as a lip stain does. There has been fairly recent revival of the use of lip stain in the past couple years since on the matte look has become a lot more popular in style. There is also a diverse price range, with the MUA line aimed at the more affordable make-up market compared to the higher price ranges such as the Lime crime velvetines line.  So is safe to assume this is the cheaper alternative to the lime crimes range and this is a popular consensus. 

The shade I selected to test today is the deep red colour otherwise known as "Reckless". It has to be noted it is a very similar to the Lime crime velvetines shade in "Red Velvet", although I would say that "Reckless" is darker in pigment. I might do a future review and comparison of the two products side by side if this is the case.

As with all make-up do check the ingredients list to be sure there isn't anything you are either against or allergic to, I personally try to avoid products and companies which test on animals.

Also apologies if I look too pale, I am ill at the moment and have pale skin anyway and am aware it has appeared in the photos...hence why there is a small lack of them within this review...this should change on the future when I'm better XD.

So if curious do read my review, I must also state I am not endorsed by MUA, the review is literally my own opinions and comments about the product :)

Side note: I would also recommend following my how to get the best out of your lipstick guide and do the steps listed before application, this will make for better application and longer lasting lip colour...the link is here: http://littleannasbeautytips.blogspot.co.uk/2014/03/how-to-get-best-out-of-your-lipstick.html 

It is available a the MUA store online here: http://www.muastore.co.uk/mua-luxe/velvet-lip-lacquer

Otherwise you can find it in superdrug or online at amazon.

Thanks guys ;D
xxx


First Impressions:


The packaging for the products really nice and basic, unfortunately I had to throw away the cardboard it came enclosed in as it was taking up space, however images of it can be found via other reviews as well as searching on Google.  It was clean cut with a simple black background with the writing in gold the same as on the item itself. Overall it was simple and not overdone.

The container for the product is also nice and sturdy and so far as not leaked out of the top of the lid to make it tacky which is also a plus. However the gold writing on the top is being to wear away after a couple of uses. I also possess two other shades of the MUA Lip lacquers and have noticed a similar defect, however this is only a minor criticism as it happens with a lot of cosmetic products. 


I am very pleased with the pigmentation of the product, one layer is more than satisfactory to get the desired effect which is good as the consistency of the product can make it difficult to layer up as it a thick texture. This makes application fairly quick, although be aware this means it takes longer to dry due to the thickness. However it is very smooth and makes for an even application which is great :D

Wear and Tear:

Once the product has dried it has fantastic staying power and removing it can be a challenge. It does tend to give a bit as the day goes on and so the best thing you can do is to literally avoid touching it so you don't smudge it around your mouth accidentally.

You are able to eat and drink aswell with minimal transfer which is great so you don't have to worry too much, just check it now and again just to be sure you haven't smudged at all. 

I would also recommend that when you are applying it you have a red lip liner handy (it doesn't have to be the same shade as reds tend to blend well) to smooth out the edges from the application as it is applied like a lip-gloss, with that kind of brush. This means it can be a little messy and not so perfect, so a little straightening out when using the lip lacquers would be a benefit, particularly if your lips are not quite so even like mine  :) 


The Colour:

As noted before I love the colour and pigmentation, and as I have pale skin I find the dark red suits my complexion greatly. Cold reds do tend to suit pale skin, but while this falls under that shade, in my opinion it is neutral also and some people with darker skin will also be able to pull the shade off. Although as an individual be aware of what suits you the most as warmer reds can more frequently be better suited for darker skin. 

It's literally a matter of personal taste as well as some trial and error :)


The Price:

As far as the price goes you literally cannot go wrong at £3 a pop its cheap and affordable. Sometimes they come on offer too so you can pick up a bargain.

The cons with the product are only minor so there is no excuse not to pick up one in whatever shade, I presently have three including "Reckless" (swatches and reviews pending) and it's not made a dent in my bank account as their more expensive counterparts may of done. 


Overall:

But whatever your preference and budget I would recommend the MUA Lip lacquers especially "Reckless" as it's a lovely colour, it suits me well, has fantastic staying power, is affordable and MUA do not test on animals. The cons are minor and occur with a lot of other make-up brands so to me they do not out-weigh the benefits og the product.

Therefore it's a win in my book! :D


So Thanks for reading, hope it was helpful and at least a little insightful. Although before you commit to buying check out other peoples blogs and youtube reviews for different perspectives and find out all you can from a variety of viewpoints.


But for now thanks for reading and I will love you and leave you! 
Byeee :) xxxx


Saturday 22 March 2014

How to: Get The Best Out Of Your Lipstick! :)


How To:
Get the Best out of your Lipstick!


Hi There!

So on gloomy days I love to generally just love to practice perfecting my make-up techniques :) So I made the following, a little how to on how to get the best results out of your lipstick and the best steps to take to generally make it last longer and to get the best application and base. It should be just a basic run through of the stages you should take when using and applying lipstick :)

I'm going to use red lipstick as that's my usual colour of choice but the same basics can be applied to most colours. A list of the products I used and where to find them will be at the bottom of the blog post :) Thanks guys! 

So if your interested read on! 


Products Needed:

Cotton Pads/Tissues- I find the circular cotton pads work the best but tissues can be used also for blotting :)

Some form of lip scrub/alternative- Either a lip scrub product or alternatively use Vaseline and scrub it into your lips using a clean eyebrow spoolie and wipe of when the dead skin has been lifted (Be careful not to be too rough with either of these methods, you are just looking for a smooth effect).

Lip Balm- Any form of lip balm or moisturiser. 

Lip liner- Preferably in a shade as close as you can get to the lipstick you are going to use. 

Lipstick- Select your main colour you wish to use, if possible fine the best shade that will most compliment your skin tone and your undertones and has moisturising properties to avoid your lips drying out.

Lip Gloss- Either a clear lip gloss or one that similarly matches your lipstick. 


Step 1: Scrub Away!

Scrub those lips! Either during the prepping stage of your make-up application or after you have done all your other make-up, grab your lip scrub product/method and gently exfoliate your lips to remove dead and peeling skin until you get a smooth base on the top and bottom lips. I used Lush's Santa's Lip scrub.  


Step 2: Slather it on!

Moisturise! Grab your lip balm and buff it into the lips and then leave to "sink in". Remove any excess :)


Step 3: Get Lining!

Lip Liner! Take your lip liner out carefully fill in your lips all over. After this define a stronger line on the edges and around the bow of your lips. I used Maxfactor's Colour Elixir in Red Rush.


Step 4: Pat Away!

Blot! Take a cotton pad or tissue and place it between your top and bottom lips and then press your lips lightly together. Then release but keep the pad/tissue handy.


Step 4: Layer it up!

First layer! Take your lipstick (Mine being a Barry M lipstick, the shade had rubbed off sorry :( ) and using either a lip brush or the lipstick itself depending on the strength of application you are looking for, place a decent amount in the centre of the bottom lip. Afterwards rub your top and bottom lips together so that it is all over evenly. Clean up any uneven lines using a cotton bud/tissue. 
Blot again! Pretty self explanatory, just follow the blotting technique again! :)
Second Layer! Repeat the same step as the first layer.
Blot again again! Again the same as done before :)

...Continue these steps until you get the desired result, I just stuck with two layers :)


Step 5: Shine on!

Gloss it up! This step is optional depending on the look you want :) Grab your chosen lip gloss and like how you applied the lipstick, dot a small amount in the centre of the bottom lip and then pat it so it covers most of your lips! 

Step 6: Finishing up!

Correct! This step is optional :)Using a small amount of concealer (any method of applying will do) neaten the edges of your lips into the desired shape and/or and areas the lip stick may of run onto. 

Save your teeth! To make sure there are no embarrassing incidents with having lipstick on your teeth use this little trick :). Take a finger and place it in your mouth about half way down the finger, relax your lips around it and then pull your finger out, this should remove any excess :) 


And that's it your now ready to rock the lippy! :D

Thanks for reading, hope it was a little helpful. If you know any more tips or have any feedback I would love to hear them, just comment below!

I will love you and leave you with the products list :}

Byeee xxx


***Products list***

Cotton Pads...Any general drugstore, supermarket, or cosmetics store will stock them.

Lush's Santa Lip Scrub...This was a special christmas edition when I bought it so I am unsure if it is still available however they have other lip scrubs which are all amazing and super yummy! Check their website (uk only) here: https://www.lush.co.uk/category/230

Vaseline...Any general drugstore, supermarket, or cosmetics store will stock them.

Max Factor's Lip Elixer... Available in a lot of places but again mostly in places named in the above product.

Barry M Lipstick... Same as above.

No.7 Lipgloss...Again the same as the above

Dainty Doll concealer... I bought mine via amazon .co.uk its fairly reasonably priced (uk only)


Friday 21 March 2014

Spring Green make-up :)

Green Spring Style Make-up!


Hey there! :)

As today there was a spot of sunshine and everything looked lovely and spring like today I decided to start my first (official) blog post with how to achieve a classic spring time look that I rocked today!

I have to apologise for the lack for clearer pictures at present...I have misplaced my camera charger and so am relying on my phone/computer :) Hopefully this will be fixed soon!

A list of the products I used and where to find them will be at the bottom of the post! The products are based on my own undertones and skin colour so it is important to use products which relate to your own skin types and/or undertones and skin issues! Please note I am not a working endorsement for any of the products used and do not get paid to promote them, they are purely what I have bought and use.

So if your interested in the look here goes:


Step 1: Skin Prepping and Products!

  1. Get those hands clean! Firstly I started off with washing my hands with antibacterial soap which is VERY important before you go touching your face to stop bacteria getting onto the skins and creating issues like pore blocking and general complexion issues! Especially if your prone to spots and things like me :)
  2. Cleanse! The next step will vary depending on your skin type but it's important to cleanse your face to clear dirt that may of accumulated from the night before off of the skin so we can start off with a blank canvas. My personal way is to take a cotton wool pad and then use what I guess is a toner (mine is made simply from water and a dream steam tab by Lush cosmetics...more details at the bottom of the post!) which I then wipe all over my face and neck, and either let it dry naturally or pat my face dry with a towel. I have sensitive skin which gets fairly dry so this is just what I do. So if you have a different skin type follow your usual cleansing method...may do another post at a later time about different methods :). If you wish to use a cleanser containing mild exfoliator suitable for daily use as a cleanser this maybe beneficial too depending on skin type!
  3. Moisturise! No matter what skin type you are it's important to retain moisture back into the skin as a lot of make-up has a drying effect on the skin. I used a quick spray of Evian's facial spray and then Holland and Barrett's Aloe Vera Gel to slightly damp skin in order to sooth the skin. I then put a tiny drop of Argan Oil (I use Eden Organic Care) and spread it over the face and neck and let it settle into the skin for a few minutes.
  4. Prime! Although priming the skin is considered optional, I would recommend it as it protects the skin by reducing the amount of product settling into the pores. It also basically prepares a barrier between your natural skin and the amount of product, which smooths out the skin before application allowing an easier base for you foundation/tinted moisturiser ect. I apply (Prime Magic Camera Ready Primer) this all over my face and neck and around my eyes using upward circular motions and patting and then leave it to settle for 5 minutes.
  5. Pucker up! For this particular look I used a lip scrub while my face was left to prime to get rid of dry chapped skin (Lush's Santa's Lip Scrub) ...licked this off (its edible and safe to do so so long as you don't have allergies) and then buffed in some Vaseline! This makes me all ready for the lip colour!


Onto the Foundation!...

Step 2: Fresh, Light and Bright Skin!

  1. Correct/Conceal! This step is based on your need for it, if you don't need it (Lucky you!) or are looking for a more natural look then skip this step :) Personally I use my correcting concealers first and then use a brighter shade over the top after I have applied foundation, however everyone has their own methods! I have bad dark circles so I start off with a light peachy corrector (Skinfood Salmon Dark circle Concealer Cream)  in the inner and outer corners of each eye, over the eyelid and then and patted it in and down until just above the apples of my cheeks ^.^  I vary in how I apply this sometimes I use a sponge or just pat it in with my ring finger, sometimes a little of both until it is well blended into the skin. I then left this for a minute and then applied a different concealer (Maybelline's The Eraser in Ivory) in a sweeping motion back and forth in the area under the eyes and extended into the area at the side of the eyes to the hairline. I then blended it smoothly into the skin (again either a sponge, brush or finger method will be fine).
  2. Defend against those Rays! As the sun is always out it is important that you have some form of SPF protection on your face as this will prevent wrinkles and skin problems in the future as well as protect your skin from burning. If your foundation contains SPF protection that's great but if not it's important to apply sun cream to your face beforehand no matter what skin tone you are!
  3. Foundation! Again this is dependent on the type of look you want and/or your need for it. My skin isn't great so for this look I applied the foundation using a Mac 187 Stippling brush dabbing bits of foundation all over first (Rimmel's Wake me up foundation in Ivory) and then started buffing it in from the centre of the face  and outwards and up the neck using circular and brushing strokes avoiding the eye area. After a smooth appearance was obtained I left it to settle in while I applied a top layer of regular concealer (Dainty Doll Concealer in 002) just above the apples of my cheeks and in the general eye area, down the centre of my nose, between and on top of my eye brows and patted it onto blemishes.
  4. Powder! This is important too! In order to set your make-up in place a translucent or pale powder gives the foundation and concealer staying power, or for if you just want to avoid the foundation route altogether. It also help for if you have oily skin to give it less sheen. Using a powder brush I took my powder (Stargazer in natural shimmer) loaded my brush with it, flicked the brush to remove the excess and then used a pressing motion to kind of stick it to the foundation. Do this all over the face :)
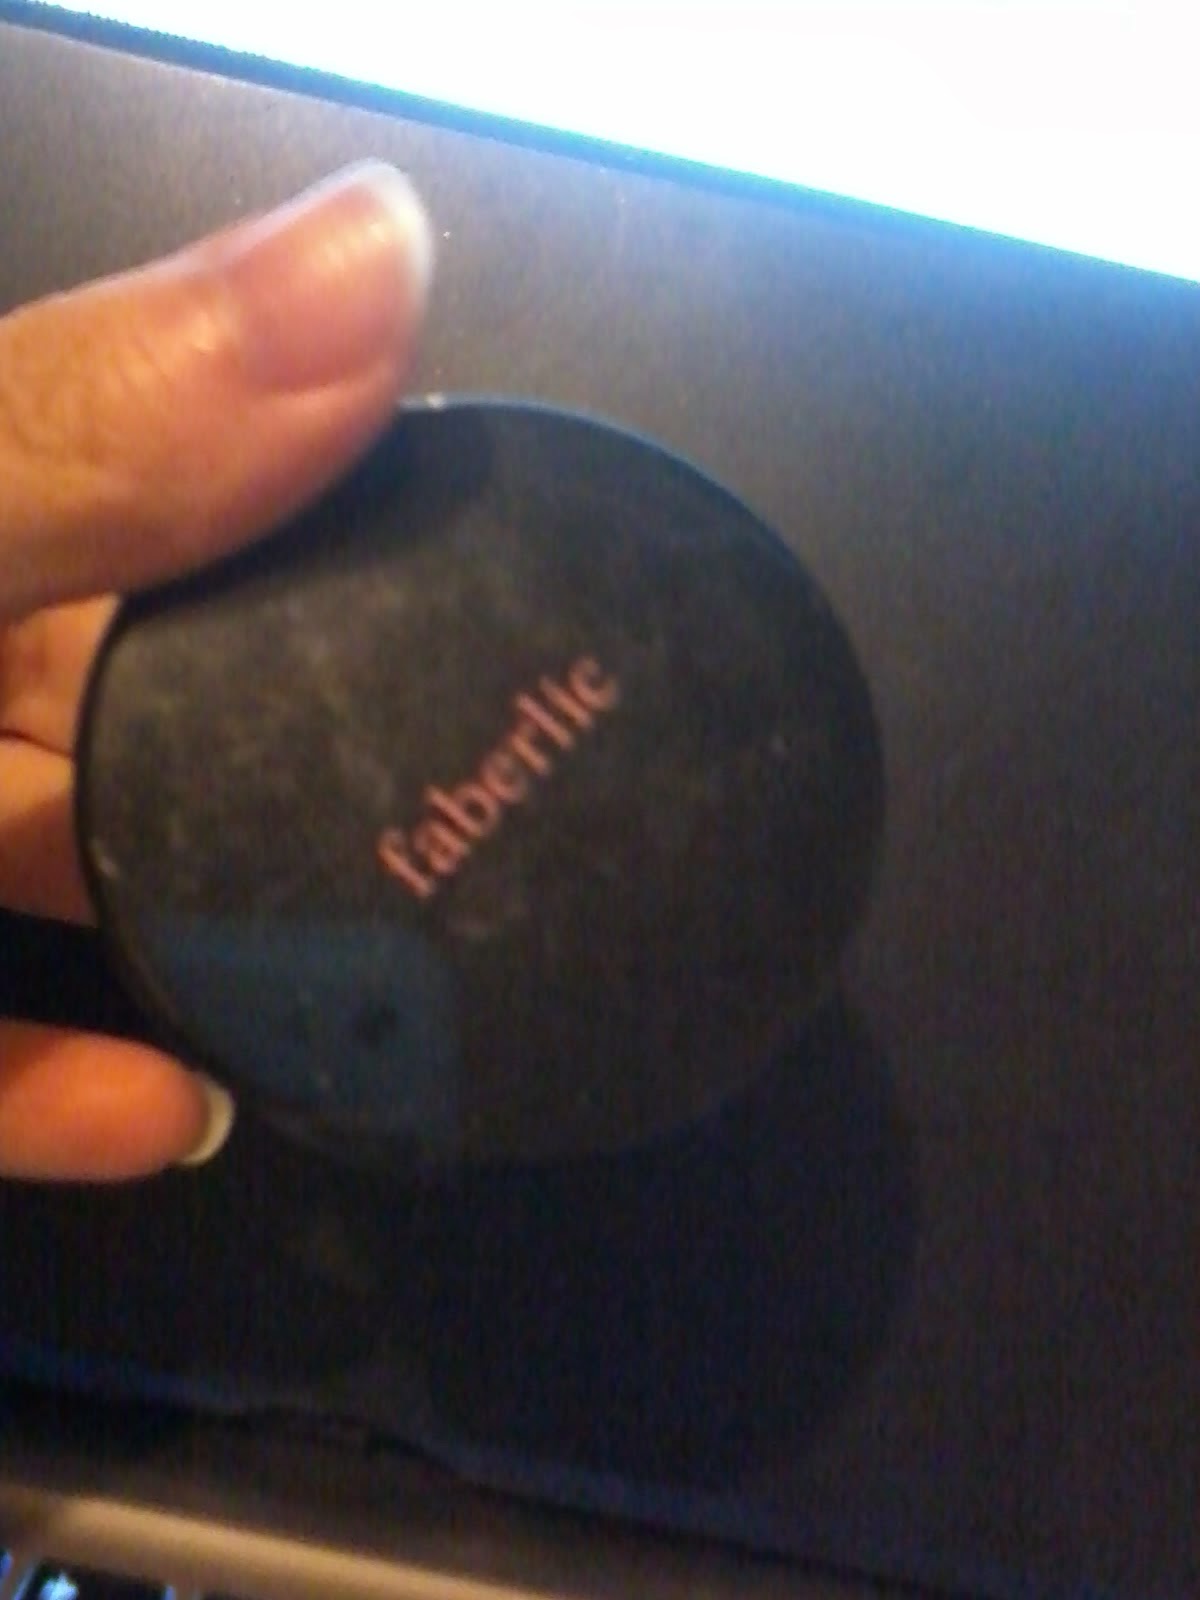
  5. Pop of cheek colour! Using a subtle pink shade which works best with your skin dot this quickly onto the apples of the cheeks using a blush brush (I used Faberlic's Illuminating Beads).


Let's get those brows into motion!

Step 3: Eyebrow Power!

  1. Find your natural shape! As this is a light spring look you want more natural looking brows for the look so follow the natural shape of your brows and brow bone. I also find eyebrow stencils are a lifesaver if you struggle with this as you can line them up, grab your product of choice and go! Either work just fine :) If you don't need to fill in your brows maybe just apply a little clear brow gel to secure them into place and skip the other steps below.
  2. Find your colour! Again if you are filling them in find a powder, gel, pencil or any other product use one which matches the natural brow colour as closely as possible. If your brows are awkward like mine and can't decide if they are brown or black, fill in with a dark brown and then "fleck" a small amount of black through.  
  3. Method in the Madness! The method or product you use to fill them in doesn't matter greatly, it mainly depends on your own preference but to keep it light there isn't much need for a dramatic shape to be created, just something simple which best highlights your eyes naturally in your opinion :) 
  4. Clean Up! Any mistakes made should be corrected before moving onto the rest of the look, so just do a little clean up with things like cotton buds and concealers along the edges of the brows.
  5. Set! Set your brows with either Vaseline or brow gel or any other product you know :).  
  6.                                                                                                                                                          Let's finish off that face!
Step 4: Contour and Accentuate! 
  1. Locate and focus! The best thing for contouring and highlighting is to locate the best features and the points which appear highest on your face. However as this look is fairly soft you do not need to find "sharp" points on your face. 
  2. Find your cheekbones! Once you have located these, use a fan brush or any another type of product create a "shadow" in the area under the cheek using a backwards and forwards motion. Then using the translucent powder and a different brush (doesn't matter which greatly) blend it out using the same motions used to apply the bronzer until you get a subtle natural looking effect. I used an Avon bronzing cream pen which I doted then blended under my cheekbones.
  3. Highlight! For any areas that you wish to bring attention to e.g. the high points of the cheeks, use a shimmery pale product or some form of highlighter and dot it lightly along where you wish to place it and blend it in. For this look I only used a small amount of highlighter on the bridge of my nose and down in order to make it less wide.


Onto the eyes ( Finally :} ) !

Step 5: Spring Green Eyes!

  1. Select your correct shades! As everyone's face is different I would recommend going for greens which only suit your eye colour, complexion, undertones which can be achieved through trial and error. A good place to discover this is through an eye-shadow pallet which is what I have as these are not only great for having a lots of colours but they allow you get different effects for different looks :)
  2. Cover! Take some tissue or sellotape to protect the bottom of your eyes from loose powder ruining this area.
  3. Get out your white! I always use a white eye-shadow as a base all over the eyelid, to apply it use a large eye-shadow brush and brush and press gently but firmly the shadow onto the lids.
  4. Pale green! Find a matte pale somewhat muted green colour and using a small eye-shadow brush lightly brush this onto the eyelid and the the crease of the eye only. Do this twice until you achieve a subtle but strong colour.
  5. Mid-Brown! Using a medium brown colour (Matte or slightly shimmery colour is fine) and a firm fairly thin eye-shadow brush or a brow brush will also work, lightly but firmly brush this in a rounded line along the orbit bone above the eyelid. Also dot some lightly on the outer part of the eyelid over the green.
  6. Brow bone! Along the brow bone mix white and caramel colour onto a small fairly fluffy eye-shadow brush, and take this along the brow bone and underneath the brows, this should look brighter than the line below it.
  7. Blend! Using a large eye-shadow blending brush gently sweep the brush backwards and forwards over the eyelid on sections. Then use a smaller one on the line created on the orbit bone until a soft but defined effect is achieved. If need be place a little more colour onto a brush and add more colour on areas which need it.
  8. Wing it! Load up and angled brush with some black eye-shadow (or use eye-liner for a stronger look) flick off the excess and then create a small cat-eye wing pointing in the direction of the end of your eyebrow. Then bring the line in from the outside in, lightly over the green as close as you can get to your eyelashes. Only create a thin line only on the inner corners letting it be thicker on the outer edge.
  9. Move the protective cover! Take away what you used to protect the under eye and move it a bit lower down.
  10. Bottom lash time! Using more black eye-shadow and the angled brush again take another thin line from the flick of your cat-eye under your lower lashes then blend it for a softer, more smoky look.
  11. Grab That Mascara! Using your favourite mascara (I used Rimmel's Scandal Eyes) place the brush at the bottom of your top lashes and "blink" our way through the brush. Let this dry do a second layer, let dry again and then press the brush onto your bottom lash line.


Bring on the lippy!

Step 6: Smooth on those lips!

  1. Moisturise! Place your favourite lip balm product onto your lips and buff and let it settle in.
  2. Bring on the brown! Select a brown lip colour (I used my Avon bronzing pen again...I love multi-use products!) using either a lip palette or on-line or in-store. It should be a light but strong brown colour and a more matte shade. Use this all over the lips. If more than one layer is needed, layer it up!
  3. Gloss it! Using a clear or a mildly coloured gloss (I used a No.7 brand) place a good dot in the centre of the lips and then rub it in using your lips. The brown should show through but now be super shiny :)


All that's left is to set your face...either use hairspray held far away from your face or a make-up setting spray! :D

And Ta-Da the look is done!

Thanks for reading, let me know if you tried it, liked it managed to do it better or whatever! Whatever you think is fine by me :) Feedback is always appreciated!! Especially as a beginner XD !

Now I shall love you and leave you with a list of products I used and where I found them!

Byeee xxxx


***Products list and where to find!***

  1. Cotton Pads...Most cosmetic, supermarkets and drugstores sell these so you shouldn't have a problem there.
  2. My personal toner/water thing... It was made using a combination of hot water combined with Lush's dream steam steamer tab (yes I did steam my face before using the left-over water as a cleanser/toner). The tab is available on their store here (uk store only): https://www.lush.co.uk/product/5668/Dream-Steam-Steamer-Tab
  3. Evian Facial Spray... I bought mine over Amazon.co.uk which was fairly inexpensive as it was about three travel sizes for £12 (uk price only). 
  4. Holland and Barrett Aloe Vera Gel... This was bought in their store during the buy one get a second for 1p sale...its definitely worth doing it that way as they last a long time especially with two. I think it was roughly £6-£7 alone, but you can check their on-line store here: (uk only) http://www.hollandandbarrett.com/
  5. Eden Organic Care Argan Oil... I obtained this via voucher on http://www.wowcher.co.uk/ so that is worth keeping an eye on for similar deals otherwise you can find their products here: (uk only) http://www.feelunique.com/brands/eden-organic-care
  6. Prime Magic Camera Ready Primer... I bought this on Amazon.co.uk a while ago also (uk only) and was very inexpensive round about £3.00 give or take.
  7. Lush's Santa Lip Scrub...This was a special christmas edition when I bought it so I am unsure if it is still available however they have other lip scrubs which are all amazing and super yummy! Check their website (uk only) here: https://www.lush.co.uk/category/230
  8. Skinfood Salmon Dark circle Concealer Cream... As this is a foreign product I ordered this online via ebay I believe, if you generally google it websites come up who are selling it :)
  9. Maybelline's The Eraser... I also bought this off of ebay.co.uk (Uk only) for £10...it's very popular so you arn't going to get a much better deal than that unfortunately :(
  10. Rimmel's Wake Me Up Foundation...I bought this in a superdrug for roughly £7, I quite popular so most supermarkets, cosmetic stores and drugstores stock it.
  11. Stargazer powder... Also Amazon.co.uk (uk only) for a few pounds.
  12. Faberlic Illuminating Beads... Same as above :)
  13. Styleeyez Clear Brow Gel... Same again :)
  14. Avon "Bronzing pen" I bought this a long time ago via Avon so I do not know if it is still being continued but it was about £5 and maybe still available online.
  15. Jazooli Eye-shadow Palette...This was also on offer over Wowcher.co.uk although there are lots of palette's like this available for a variety of price ranges so a quick search should help you find what you are looking for :) sites like ebay and amazon often do good deals!
  16. Rimmell's Scandal Eyes Mascara...Very much recomended! Again a fairly common product can find it in supermarkets, drugstores and cosmetic stores aswell as online ect. 
  17. No.7 Lipgloss...Again this was bought a while ago and the writing has rubbed off the packaging so I cant tell you the shade, but if you go to boots.co.uk (uk only) or a boots store you can buy No.7 lip glosses there :)


About Me and My Blog ^.^

Hi there! :) 

My Name is Anna in case you hadn't guessed already :P 

I'm 5 ft 1 inch hence the little part! I have brown eyes, pale skin and I think naturally brown hair (which is mildly curly)...but it's been a while since I've had natural hair colour so I can't be sure...opsi!

I am a beginner at this so any advice/tips/input would be greatly appreciated <3

Before starting properly I thought I'd say a little about myself and what I hope to achieve through blogging!


My Current lifestyle:

I am presently a student in my final year soon to graduate...argh! D: I study psychology and counselling!

I currently reside in London but maybe shifting around over the year while I sort my life out as not being a student any more XD.

I'm generally a balance of good and weird which I love to be ^.^ I love to laugh, read, goof around, bit of activity here and there and generally spend hours procrastinating via the internet and TV. 

I also have an extreme addiction to make-up and beauty products (and coca-cola for that matter) hence the creation of this blog :P. I have probably spent at least a quarter of my life alone just watching and reading a variety of blogs and videos and books to gain the most I can from them! 

I am also a known cheapskate/on-line shopping addict and love a good bargain which is both a blessing and a curse. 

So...Why the Blog?

As I mentioned before I absolutely love make-up and beauty and have spent a lot of my life thus far researching and generally teaching myself about most things beauty :) While I am probably not an expert a lot of people have said I'm really clued on about a variety of things and that I should pursue it further rather than just limiting it to just helping my friends, which is very nice of them to say :) 

So after a few years of people saying it I've finally found some courage to challenge myself and give it a go because if other people can, why shouldn't I :} 

My aims for it to provide advice and opinions on issues like  make-up, skincare, haircare, nails and general lifestyle and made a few random things thrown in here and there just for the heck of it!


So why should I bother reading this?

Honestly because if you do I will love you forever! But in all seriousness it's up to you, maybe I will come up something you might be interested in as I intend to cover most bases and perhaps provide a different view on things a lot of people cover. And not to sound like a smart ass but I know a lot about individual differences in people and how to give people that little something unique. 

With hope you will give me a shot if not enjoy your lives any who :) 

xxx